UI Overview
The InstructLab User Interface (UI) is an additional component in the InstructLab project to make Knowledge/Skills
contributions more accessible to the general user. Instead of having to edit a qna.yaml file,
users can fill out the contribution forms on the web. The user can also view all of their contributions in a
centralised list. You can also chat with the models directly on the playground.
There are 2 ways to access the UI:
-
Visit the website at ui.instructlab.ai.
-
Install and run the UI locally.
Note
To log into the UI and submit Knowledge and Skills contributions, you must be a member of the instructlab-public GitHub repository. You will receive an invitation when signing in with github.
Note
If you wish to view the newest features and updates in the user interface, we have a QA environment at qa.ui.instructlab.ai.
Please note that this environment may contain experimental updates and is subject to frequent changes.
Prerequisites
Before you can run the User Interface locally, you first must:
-
Have a GitHub account
-
Have Node.js installed
Warning
This guide was written with Node.js v20.17.0. If you are using an older version of Node.js, please be aware that the application
may not work as intended.
Installation Guide
-
Download the InstructLab UI by running the following command in your desired directory:
git clone https://github.com/instructlab/uiYou can also download by visiting the InstructLab UI GitHub page and clicking the code, and then the download button.
-
Set up the .env file. Go into the UI folder by running
cd uiInside the UI folder, create a new file called
.envand paste the following content inside:IL_UI_ADMIN_USERNAME=admin IL_UI_ADMIN_PASSWORD=password IL_UI_DEPLOYMENT=dev OAUTH_GITHUB_ID=<OAUTH_APP_ID> OAUTH_GITHUB_SECRET=<OAUTH_APP_SECRET> NEXTAUTH_SECRET=your_super_secret_random_string NEXTAUTH_URL=http://localhost:3000 IL_GRANITE_API=<GRANITE_HOST> IL_GRANITE_MODEL_NAME=<GRANITE_MODEL_NAME> IL_MERLINITE_API=<MERLINITE_HOST> IL_MERLINITE_MODEL_NAME=<MERLINITE_MODEL_NAME> GITHUB_TOKEN=<TOKEN FOR OAUTH INSTRUCTLAB MEMBER LOOKUP> TAXONOMY_DOCUMENTS_REPO=github.com/instructlab-public/taxonomy-knowledge-docs NEXT_PUBLIC_AUTHENTICATION_ORG=<AUTHENTICATION_ORG> NEXT_PUBLIC_TAXONOMY_REPO_OWNER=<GITHUB_ACCOUNT> NEXT_PUBLIC_TAXONOMY_REPO=<REPO_NAME>As of now, we are only concerned with
IL_UI_ADMIN_USERNAME,IL_UI_ADMIN_PASSWORDandIL_UI_DEPLOYMENT. But throughout this UI guide we will be visiting the .env frequently.Save and close the .env file.
-
Running Node commands to install and run.
Back inside the UI folder, run this command to install needed files for the UI to run:
npm installNote
Depending on your internet speed and connectivity, this process may take a few minutes.
When the installation is finished, start the UI by running:
make start-dev-localThe UI should now be up and running, you can visit it by entering
localhost:3000in your browser, where it should bring you to the login screen.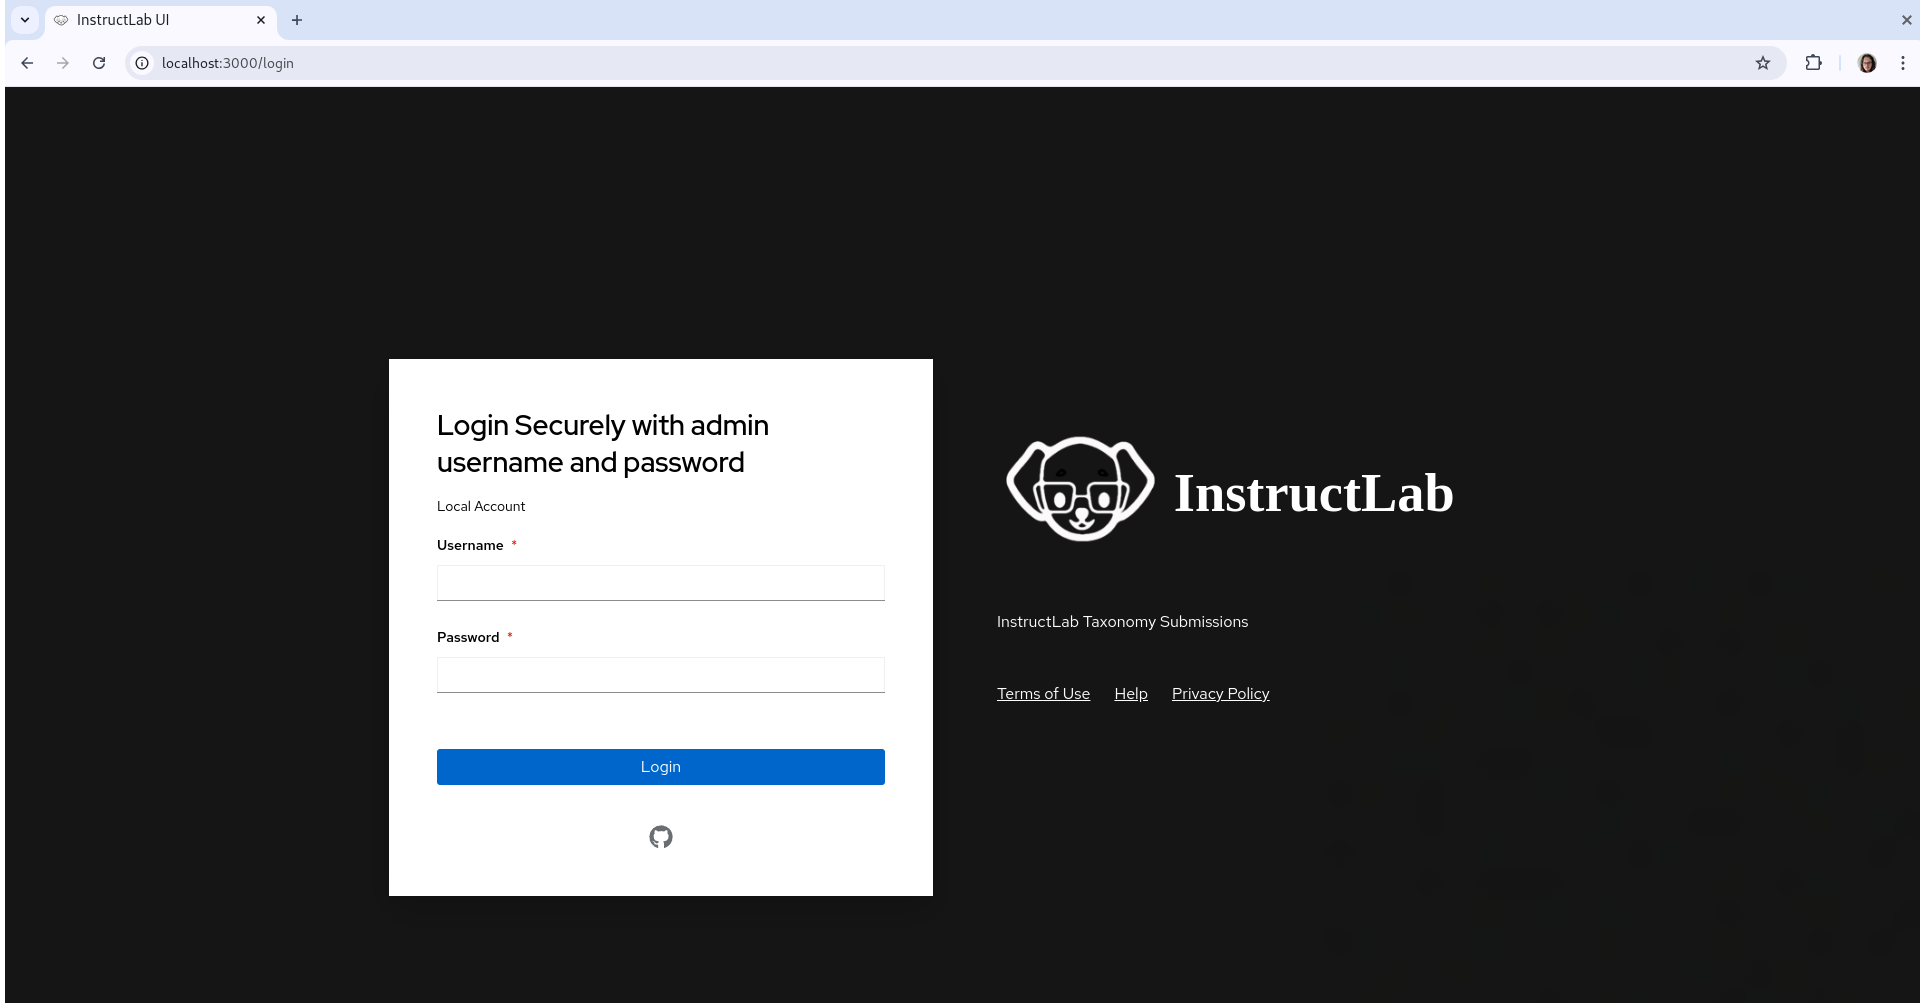
You may stop the UI at any time by running:
make stop-dev-local -
Logging in
For now, we will log in by entering
adminandpasswordin the username and password fields respectively. You can change the username and password by editing theIL_UI_ADMIN_USERNAMEandIL_UI_ADMIN_PASSWORDvalues in the .env file.We are not able to log in with GitHub right now since we haven't set up the GitHub token in the .env file. When logged in, you may see a popup saying that the UI is fetching your submissions, exit out of this notification. If you wish to set up the OAuth, visit the .env and OAuth config page.